Setting up your fundraising page with us is simple.
You can use this blog as a guide to help you, with step-by-step instructions. After this, your profile will be ready to go!
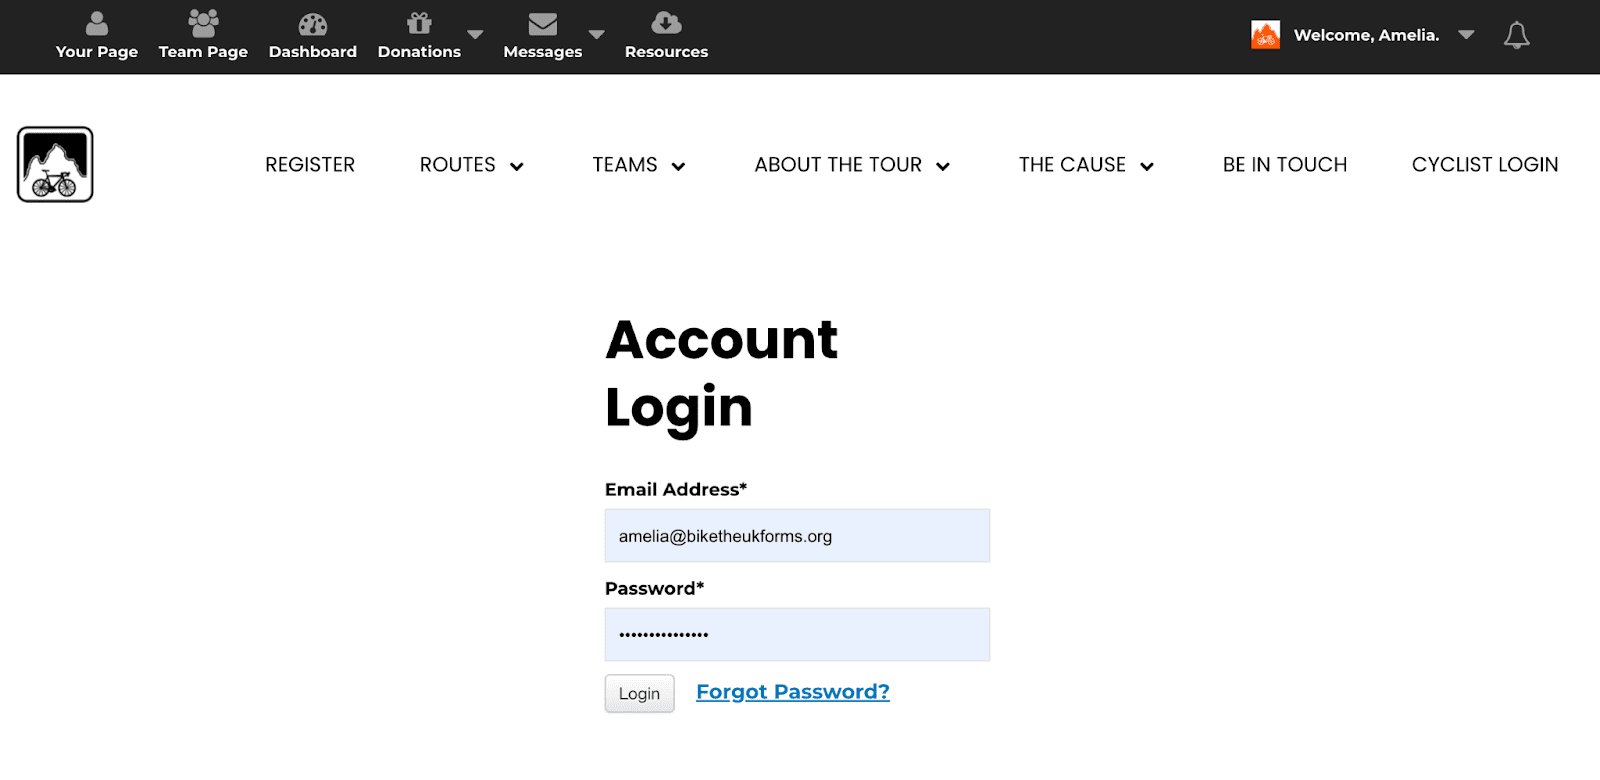
To sign into your account, head to our website homepage. In the top bar, find ‘Cyclist Login’, the last icon in the top bar on the right. Click on this and you will be sent to a sign in page. You will then be sent to the rider login page. You will need to fill in your email and password. Once signed in, you will be taken to your dashboard. To access your fundraising profile you can click the ‘your page’ button in the top left.


Now follow these steps:
- Sign Up
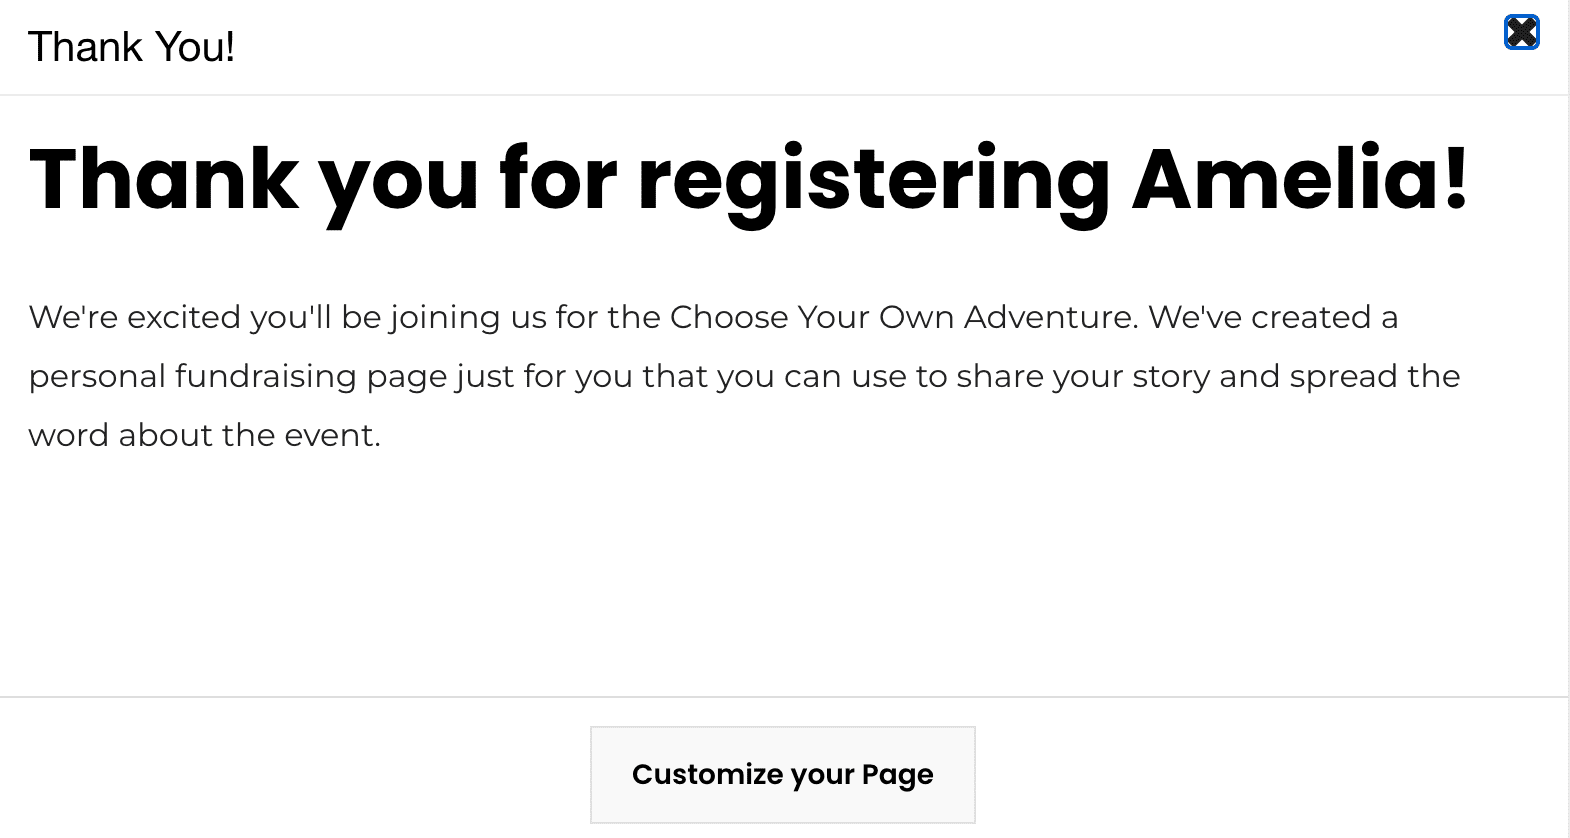
- Sign up to the ride of your choice on our website. You will then be asked to register. Fill in information about registration type, role, and fundraising goal. We encourage you to set a stretch goal. The more you raise, the greater the impact you will have on the MS community! Once completed, you can click ‘Customize your Page’.
- Photo
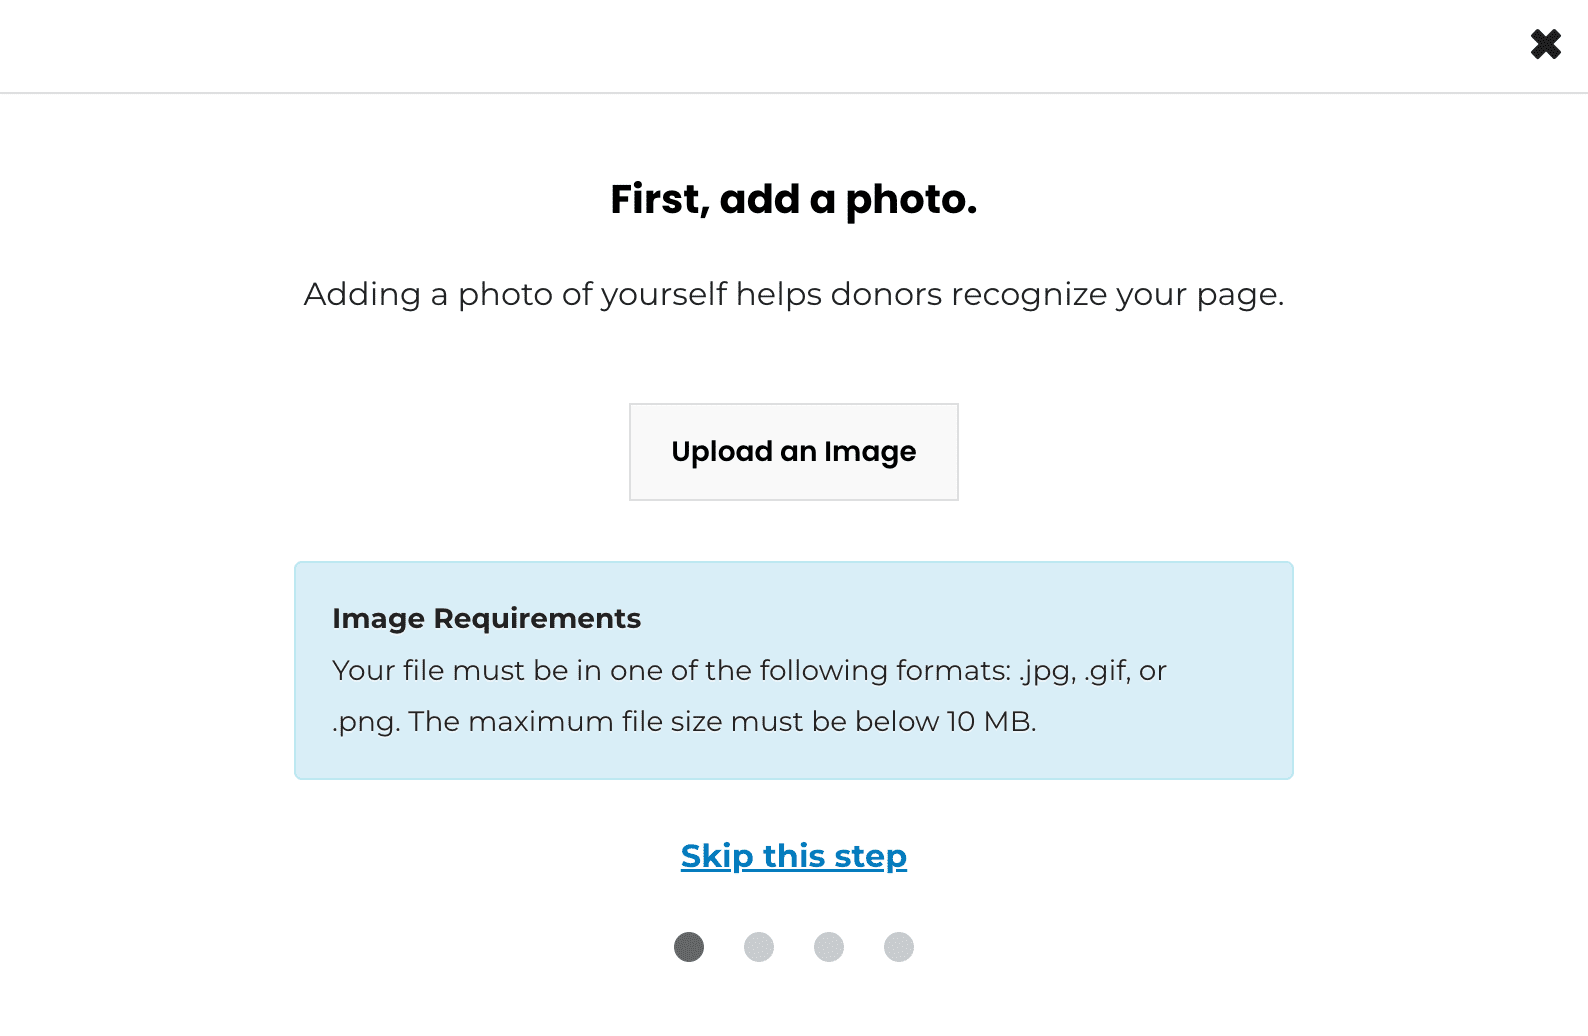
- Add a picture to your profile. This will help make it more personal. You can upload a photo from the device you are using.
- Add a picture to your profile. This will help make it more personal. You can upload a photo from the device you are using.
- Tell your story!
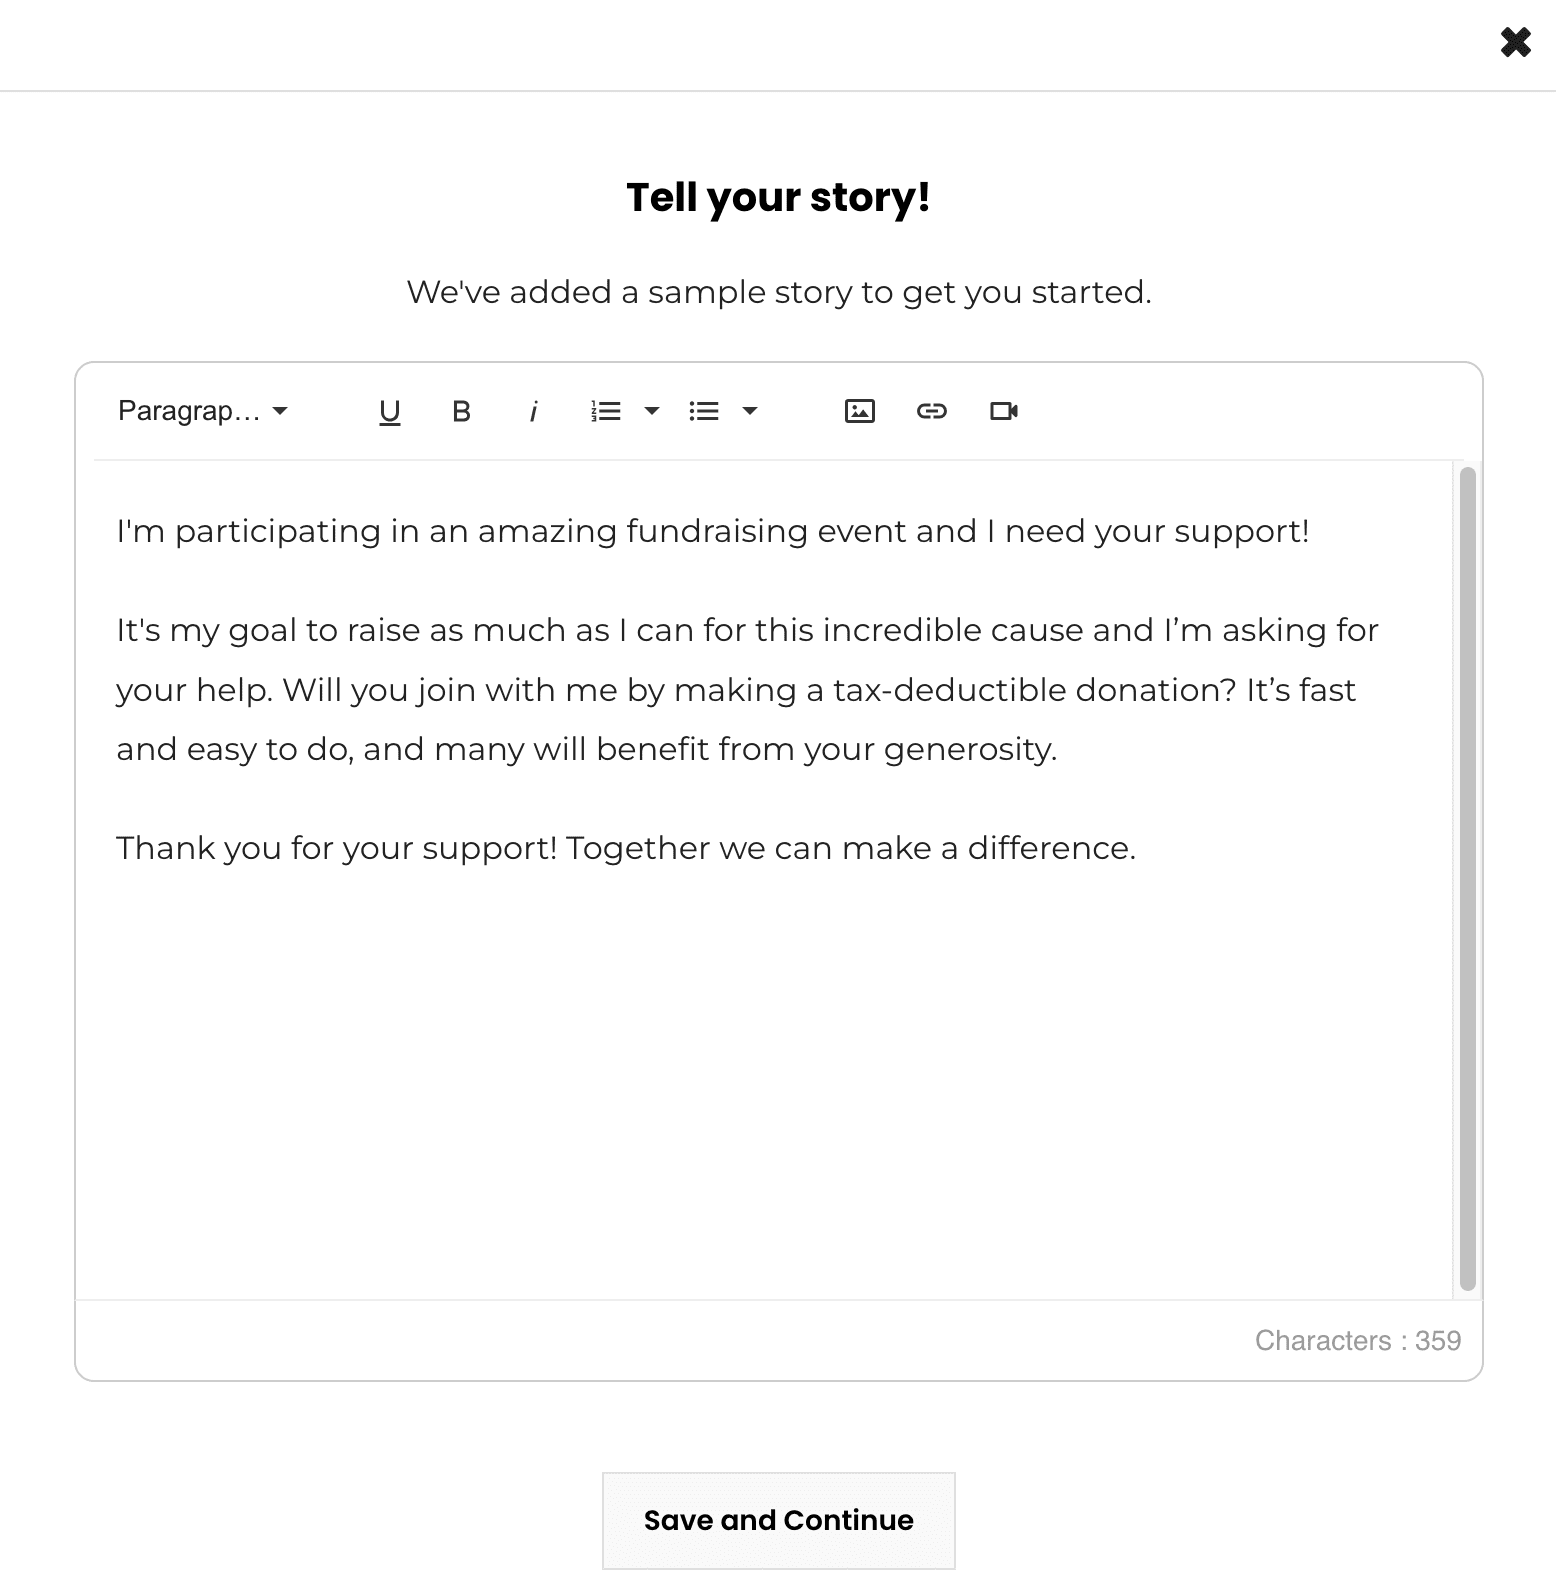
- Your story is automatically filled in with some information about the ride, however it’s best to add your own personal touch. You can add the how and why you are fundraising. This can also include images and videos. Make sure to check out our How to tell your “Why” blog for some tips.
- Shareable URL
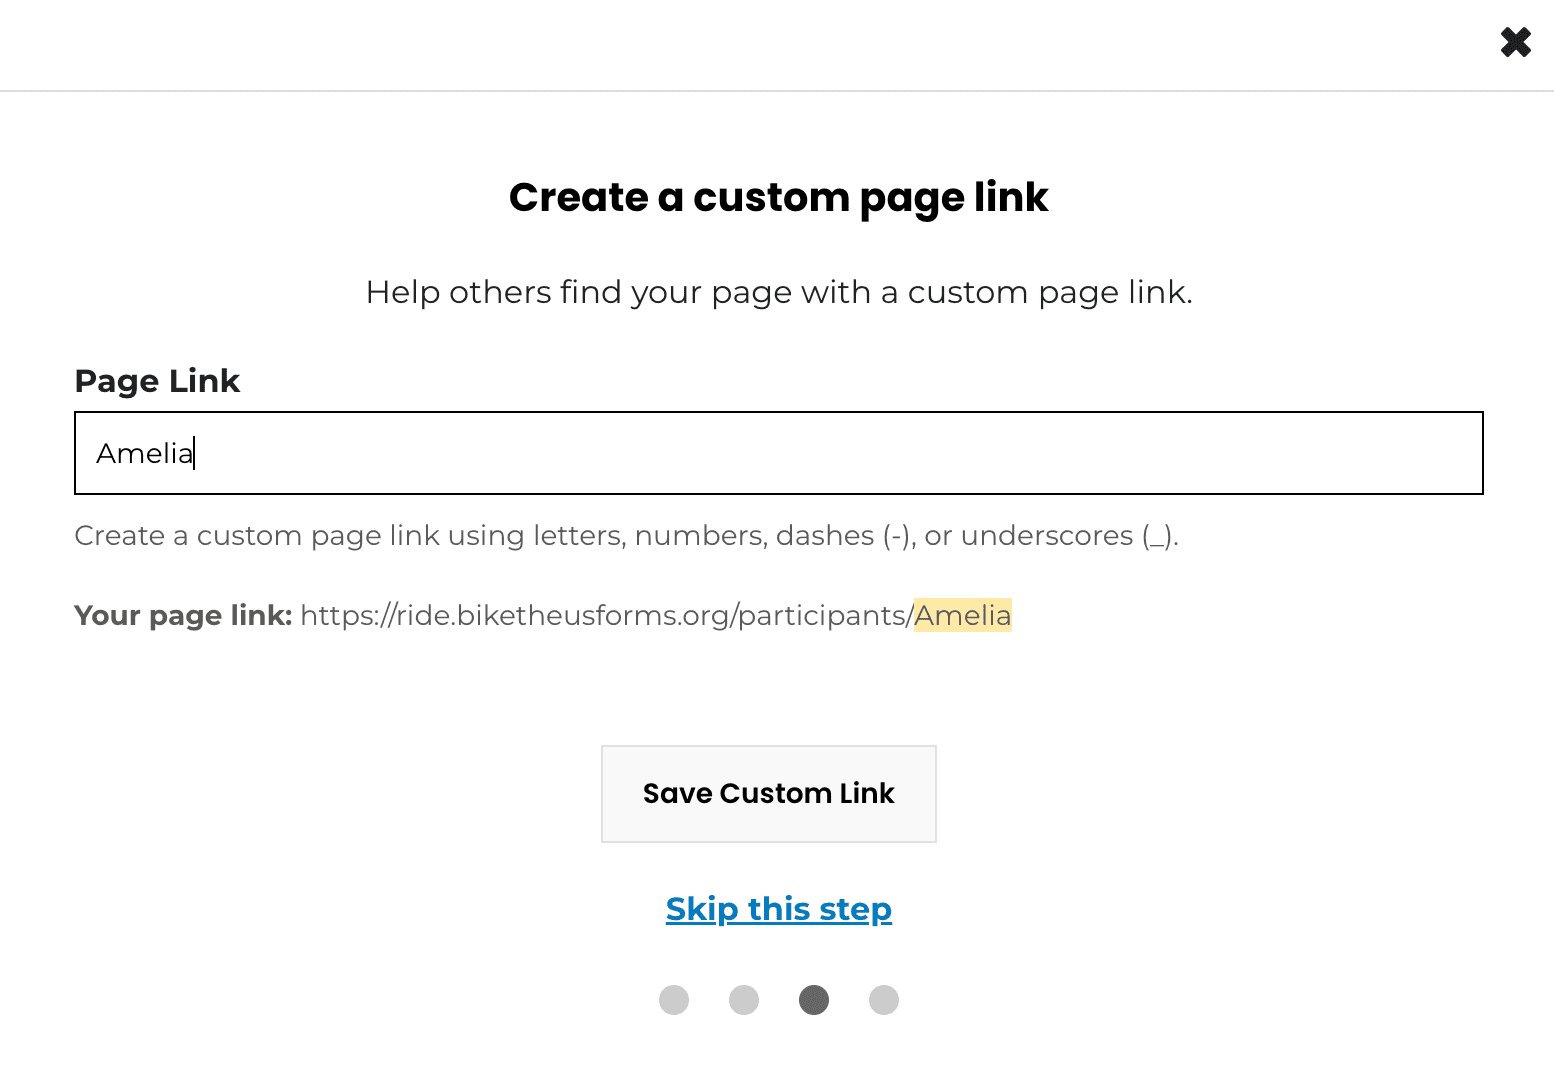
- You are now ready to start fundraising! This is your personal web address that will send those who click it to your fundraising page. You can personalise this link too, make it shorter and more memorable. You can copy and paste this to share this in text messages, social media posts and stories. Check out our next blog on ideas on how to share this with your friends and family!
- Facebook Fundraiser
- You can connect your fundraising page to your facebook account to create a facebook fundraiser. Click ‘Create a Facebook Fundraiser’ to do this.
Now your profile is set up, it should look something like this…
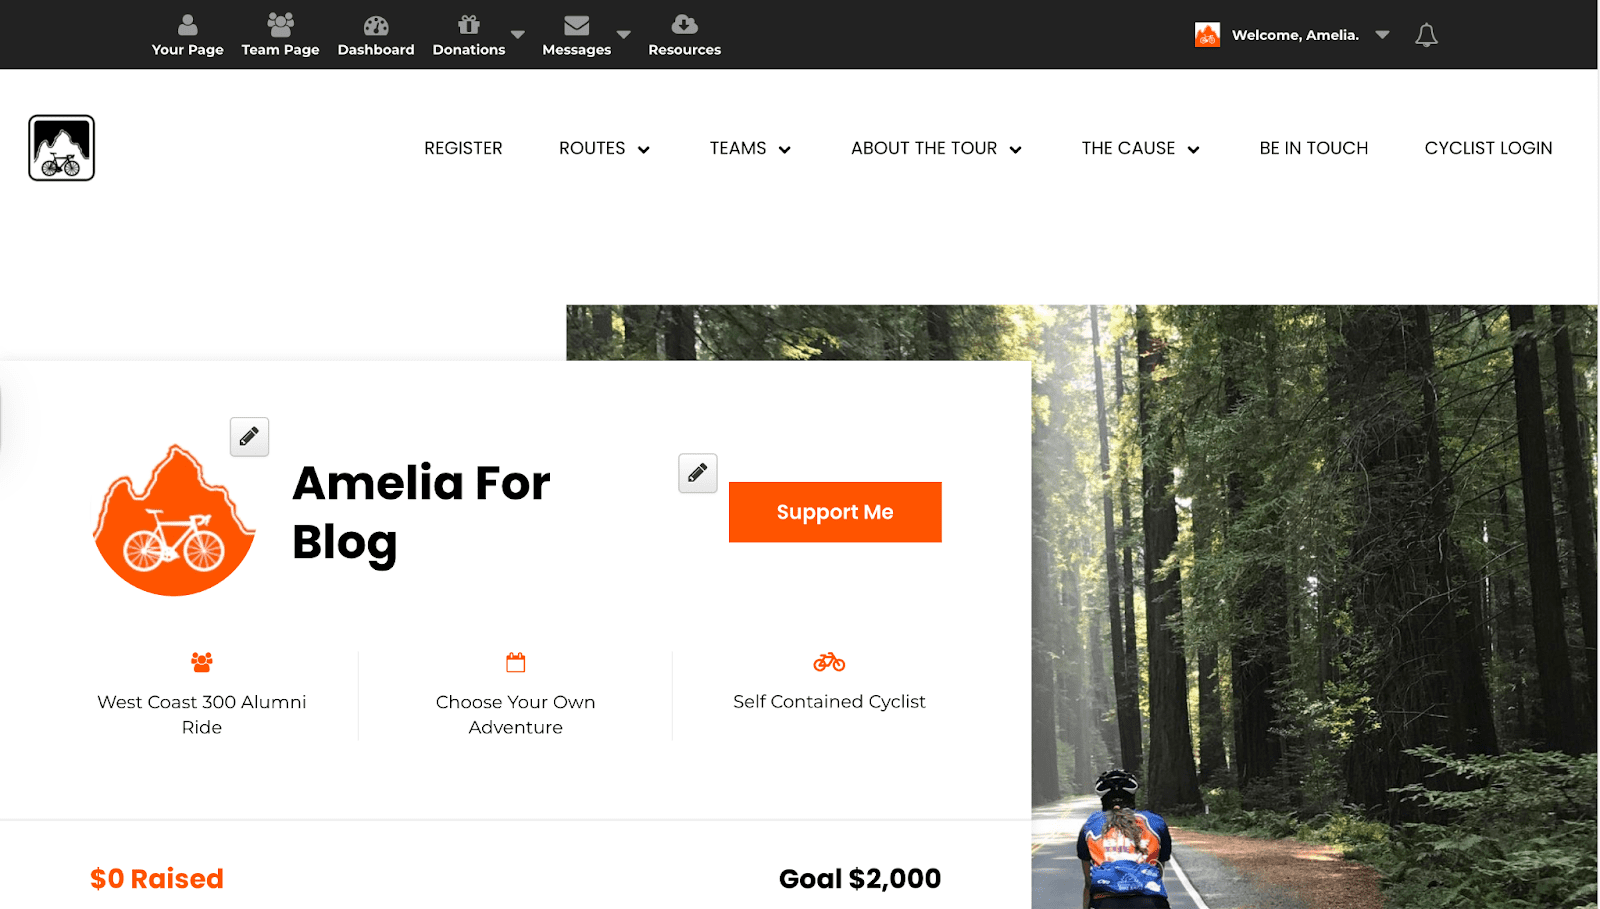
If you want to edit your name or profile picture at any time, click the grey pencil icons. You can do the same if you want to increase your fundraising goal too! If you didn’t have time to fill in your story or you weren’t quite sure what to say (and wanted to check out our blog first!), you can also edit your story by clicking the grey pencil button next to it too.
The Tool Bar
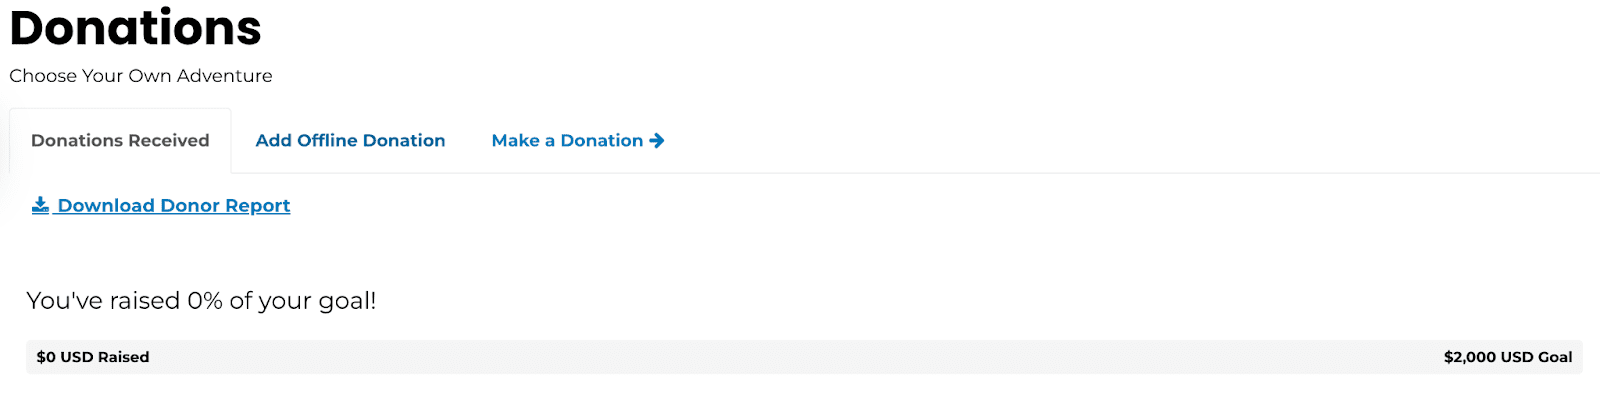
To fully utilise your fundraising page, use the top tool bar. We’ve just been through your page and dashboard. If you click on ‘Team Page’ you can see all the other riders on the same route as you. Click on ‘Donations’ to add an offline donation you have received. You can also make a donation to yourself, this may be your first donation which encourages others to give to you! You can see all the donations you have received here and how close you are to your goal.

To fully utilise your fundraising page, use the top tool bar. We’ve just been through your page and dashboard. If you click on ‘Team Page’ you can see all the other riders on the same route as you. Click on ‘Donations’ to add an offline donation you have received. You can also make a donation to yourself, this may be your first donation which encourages others to give to you! You can see all the donations you have received here and how close you are to your goal.
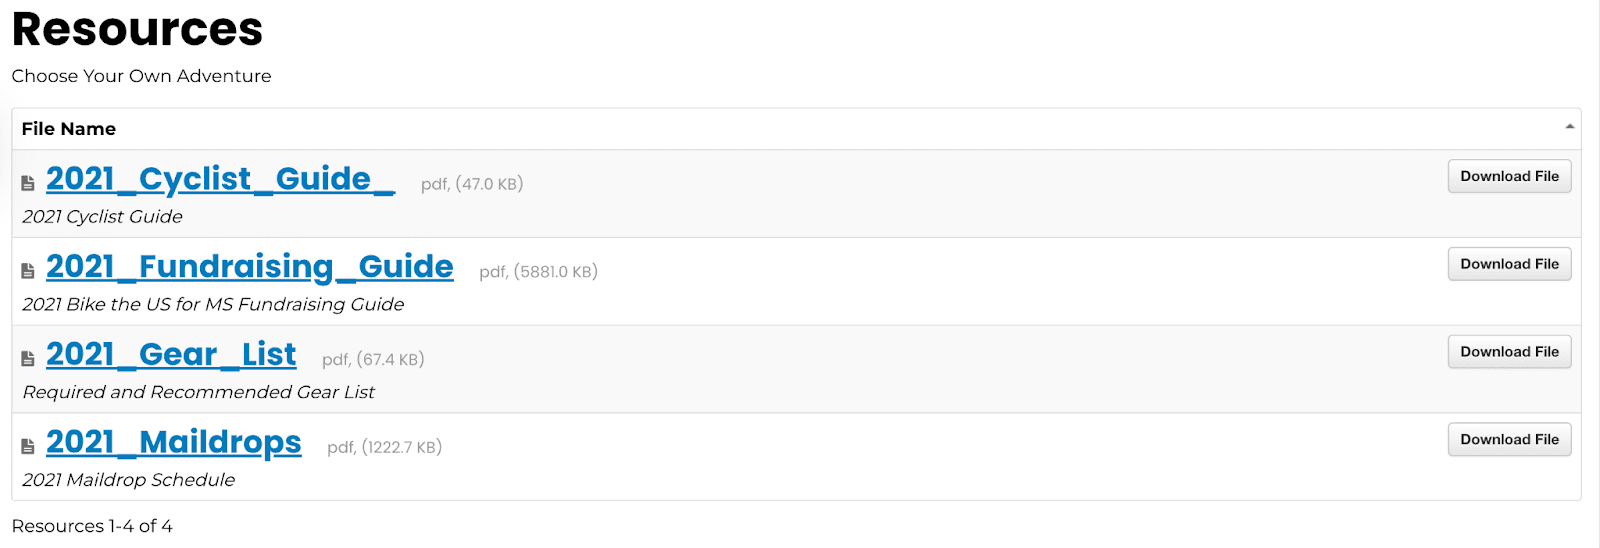
Click on ‘Resources’ to download our cyclist and fundraising guides, gear list and maildrop schedule.
Now your profile is all set up!
Now you can get going with planning your fundraising events! We have a list of fundraising ideas for students and workplace events. Make sure to read the blogs for some ideas! Also, keep an eye out on your emails for some inspiration on how to spread the word of your new adventure, with copy and paste messages and instagram and facebook story and post templates. All ready for you to download and personalise with your own fundraising link!